Tile layout patterns: from straight grid to herringbone
Benefits, limitations, and preparation for straight, running bond, diagonal, herringbone, and modular tile layouts.
A layout pattern changes more than the look of a tile. It changes cut count, grout lines, geometry requirements, material use, and installation difficulty. Choose the pattern with the format and room plan, not after the tile has already been purchased.
This is not a ranking of the “best” pattern. It is a way to match a pattern to a surface. In every case, start with a dry layout or a scaled 3D plan.
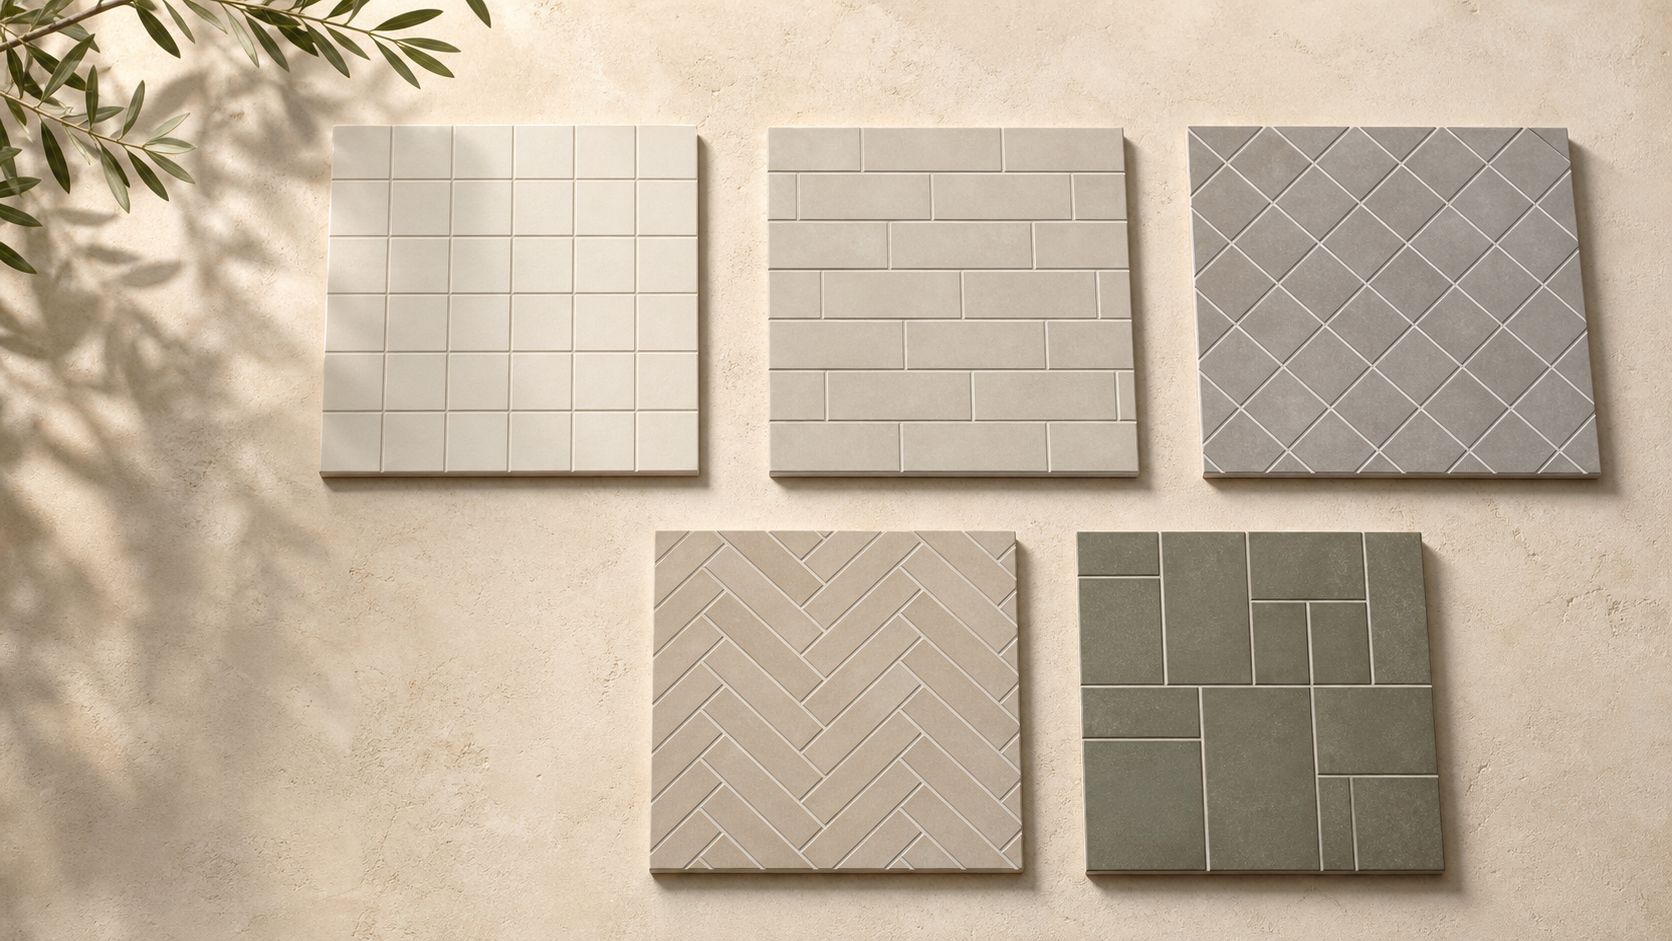
1. Straight lay: calm grid and predictable cuts
Tiles sit above one another with aligned vertical and horizontal joints. This is the easiest pattern for establishing axes: you can centre a wall, align a joint with furniture, or carry a horizontal line through a niche.
A straight grid also exposes an uneven substrate, so the baseline and level checks matter. Decide where edge cuts land before starting; balanced cuts often look better than a full tile on one side and a tiny strip on the other.
- Good for broad, calm planes.
- The cut list is easier to predict.
- Vertical and horizontal control must be precise.
2. Running bond: rhythm with an offset
In a running bond, each row shifts relative to the next. A half-tile offset creates a strong rhythm, but on long tile it can emphasise bowing and create lippage across a joint.
For large rectangular tile, industry guidance often limits the offset to 33% or less unless the manufacturer approves otherwise. Do not use 50% automatically: check the product instructions, make a mock-up, and judge the planned joint.
- 50% is not a universal rule for long tile.
- A 33% offset can reduce visible lippage risk.
- Keep the same offset throughout the surface.
3. Diagonal lay: wider-looking space, more cutting
Square or rectangular tile is rotated, often at 45 degrees to the walls. The lines draw attention away from imperfect room squareness and can make a small area feel more dynamic.
The trade-off is more triangular and complex edge cuts, stricter setting-out, and more material allowance. Establish a centre axis, check symmetry, and decide how the diagonal meets doors, thresholds, and niches.
4. Herringbone: an accent pattern that rewards precision
Classic herringbone joins rectangular pieces at right angles to form a repeating zigzag. It adds movement to a backsplash, feature wall, or small floor, but requires a clear starting axis, consistent joint width, and a repeatable rhythm.
Dry-fit the centre and inspect how rows finish at the walls. Herringbone creates more cuts, and a small starting error compounds in later rows. It needs accurate setting-out, a mock-up, and an installer comfortable with the pattern.
- Herringbone is different from chevron, where cut ends create a continuous V.
- Check all exposed edges rather than hiding them behind furniture.
- Allow extra material for diagonal cuts.
5. Modular layout: a repeating group of sizes
A modular layout uses several tile sizes that form a repeating unit. It can create a decorative rhythm without randomness, but only when actual sizes, joint widths, and sequence match the manufacturer’s system.
Build one complete module before ordering and repeat it on the plan. Check the edge, corner, and any narrow infill. Calibre or joint-width differences between products can change the overall pitch.
6. How to choose a pattern for the room
For a first DIY project, a straight grid is easiest to control. If you want rhythm, use a running bond within the manufacturer’s offset limits. Diagonal and herringbone patterns make sense when their geometry strengthens the composition rather than hiding a poor format choice.
Compare at least two versions using the real dimensions. Review edge pieces, unusual cuts, junctions, pattern direction, and installation time. A beautiful pattern that cannot be repeated consistently is not a finished solution.
- Start with finished dimensions and reliable axes.
- Test grout with the actual tile size.
- Do not add complexity without a visual reason.
- Lock the final pattern before the first cut.
Conclusion: the pattern is part of the assembly
The layout affects appearance, cuts, material use, and labour. Choose it together with tile format, substrate, corners, and visual axes—not after buying the tile.
A scaled plan or 3D check shows the consequences before adhesive: where the row ends, how corners meet, and whether the edge cuts remain practical.